Published: Oct 21, 2022
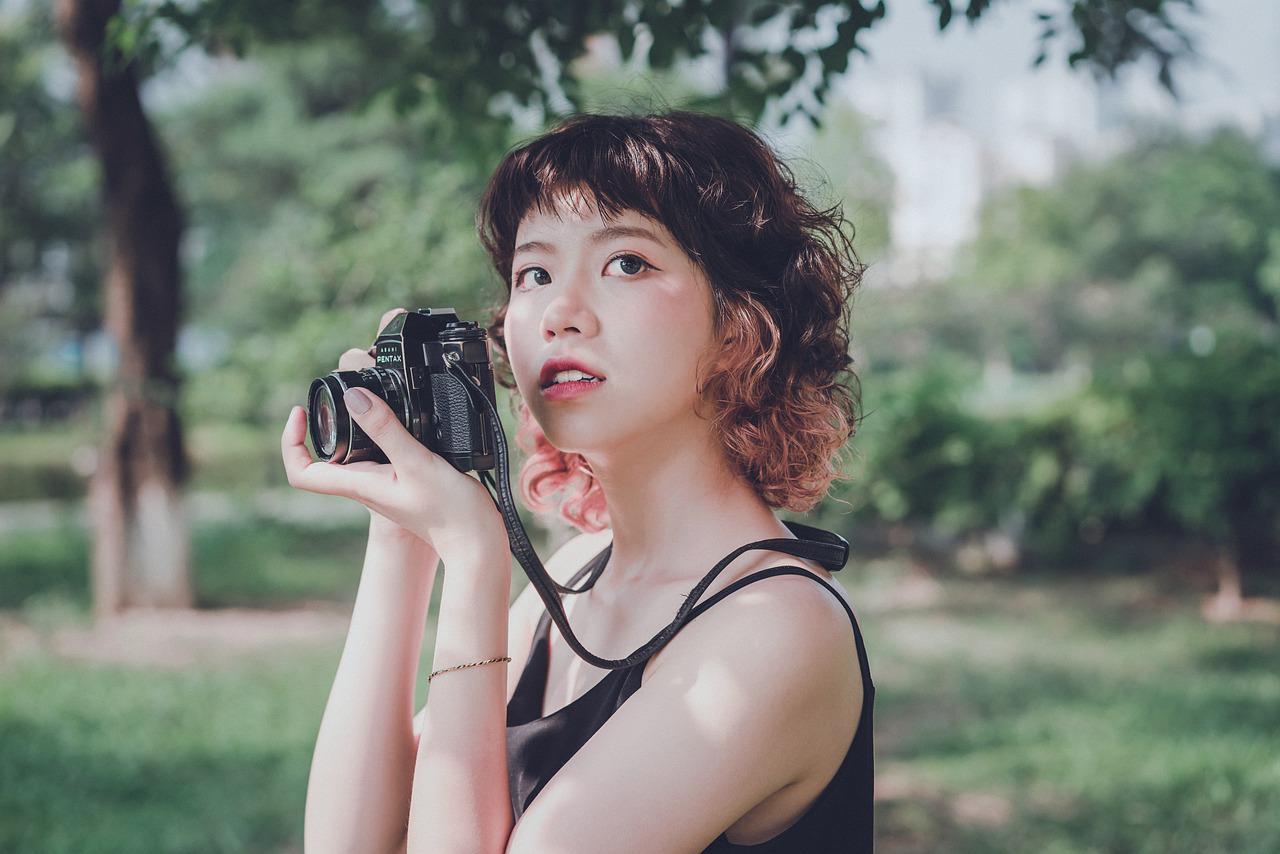
Aspiring photographers, have you ever taken a picture that didn’t quite turn out the way you wanted it to? You’re not alone. Even experienced photographers sometimes take pictures that don’t look as good as they could. There are a few basics of photography composition that can help improve your shots. In this blog post, we’ll go over those basics so you can start taking better pictures right away. Keep reading to learn more!
1. The Rule of Thirds
The rule of thirds is one of the most basic principles of composition and yet it is also one of the most important. The rule is simple: imagine your frame divided into thirds, both horizontally and vertically, so that you have nine equal parts.
When using this rule, you should position the main subject of your photo along one of the lines or at one of the intersections. The human eye is naturally drawn to these points, so by positioning your subject here, you can create a more visually appealing image.
In addition, it can help to create a sense of depth and movement in your photo. By placing the main subject off-center, you can give the viewer a sense of what lies beyond the frame.
Of course, the rule of thirds is just a guideline and there are no hard and fast rules in photography, but it is a good starting point for those who are just beginning to learn about composition.
So next time you are out taking photos, remember the rule of thirds and see how it can help you to create more visually appealing images. Pairing composition knowledge with a solid understanding of the importance of light in photography will dramatically improve your shots.
2. Leading Lines
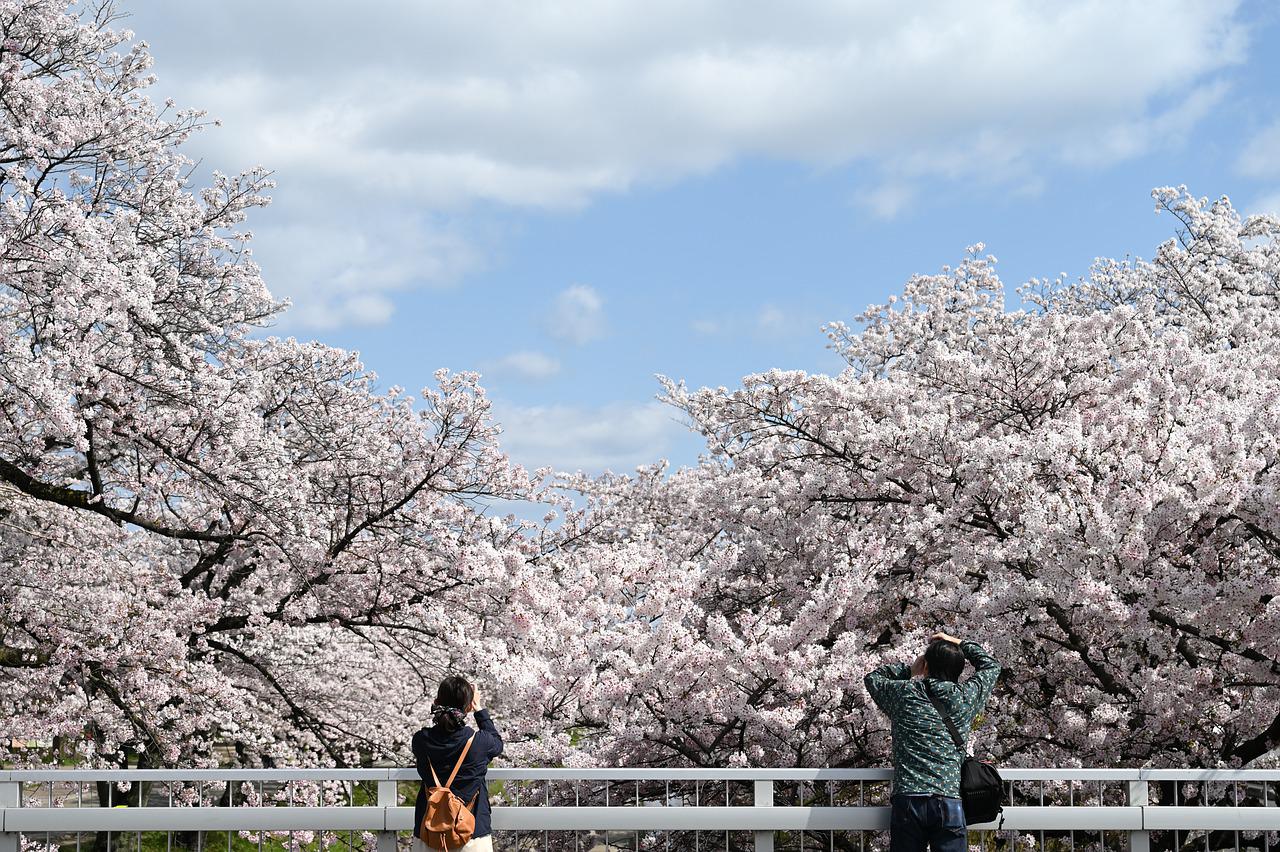
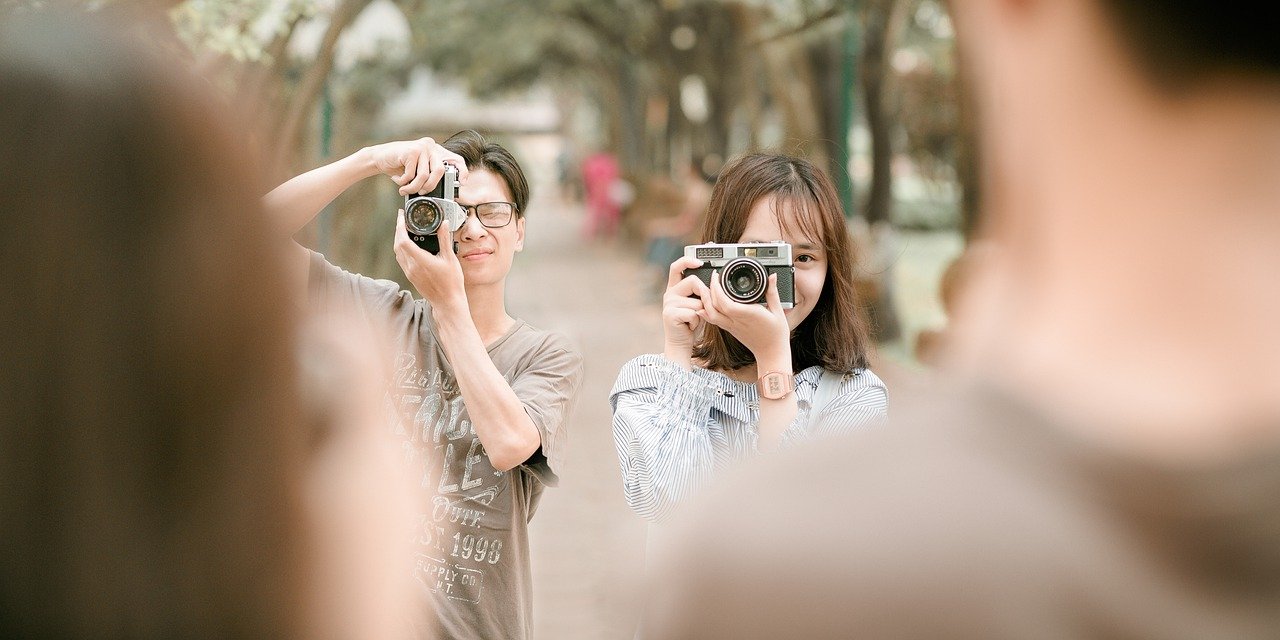
In photography, composition is everything. It’s the art of arranging the elements in a frame to create a pleasing image. And one of the most important compositional elements is leading lines. They can be created by a variety of elements, including roads, fences, rivers, and even shadows.
When used effectively, leading lines can help to create a sense of depth and perspective, drawing the viewer into the scene.
They can also be used to draw attention to a specific element in the frame, such as a person or building. To create an effective composition with leading lines, photographers should take care to avoid clutter and maximize the contrast between the lines and the surrounding area. By doing so, they can create images that are both visually appealing and informative.
So next time you’re out shooting, keep an eye out for leading lines and see how you can use them in your photos. Urban scenes are especially good for this, which is why location ideas for great photography in your city can be such a practical follow-up.
3. Depth of Field
In photography, depth of field (DOF) is the distance between the nearest and farthest objects in a scene that appear acceptably sharp in an image. Achieving an adequate DOF can be challenging, especially when shooting macro or landscape photographs. There are three main factors that affect DOF: aperture, focal length, and subject distance. By understanding how these factors work together, you can take more control over the DOF in your photos.
Aperture is the size of the opening in the lens through which light passes. The larger the aperture, the shallow the DOF. That is, with a large aperture (e.g., f/2.8), only a small portion of the scene will be in focus, while the background will be blurred. Conversely, with a small aperture (e.g., f/16), more of the scene will be in focus. When shooting macro or landscape photos, it is often important to have a large DOF so that both the foreground and background are sharp. In these cases, you will want to use a small aperture.
Focal length also affects DOF. The longer the focal length (i.e., the “zoomed in” you are), the narrower the DOF will be. For example, when photographing a person with a telephoto lens (e.g., 200mm), only their face may be in focus while the background is blurred. On the other hand, if you were to take the same photo with a wide-angle lens (e.g., 20mm), more of the scene would likely be in focus (assuming you are using the same aperture as before).
Finally, subject distance also has an effect on DOF. The closer you are to your subject, the shallower the DOF will be; conversely, if you are further away from your subject, more of the scene will fall within the DOF. This is why it can be difficult to get both macro shots and landscapes sharp–if you are close enough to get good detail on your subject, then your DOF may not extend far enough to also include distant objects such as mountains or trees in sharp focus. Experimenting with different combinations of aperture, focal length, and subject distance is one way to find an acceptable compromise for these types of shots.
In summary, depth of field is determined by three factors: aperture, focal length, and subject distance. By understanding how each of these factors affects DOF, you can take more control over what appears sharp in your photos. Focus choices also connect closely with autofocus vs manual focus in photography.
4. Framing your subject
By carefully choosing what to include and exclude from the frame, you can create more impactful and visually interesting photos. One way to frame your subject is to use natural elements like trees or rocks to enclose it on one or more sides. This can help to create a sense of scale and also add contextual information that can make the photo more visually appealing.
Another way to frame your subject is to use man-made objects like doorways or windows. This can help to create a sense of depth and perspective, and can also be used to highlight certain aspects of the scene. Whatever method you choose, framing your subject is a great way to add interest and visual appeal to your photos. Portraits benefit from this especially well, and so does choosing why background is important in portrait photography more deliberately.
5. Balancing Elements in a Photo
One of the most important aspects of composition in photography is creating a sense of balance within the frame. This can be achieved by carefully considering the placement of each element in the scene. For example, if the subject is located off to one side, the photographer may choose to include additional elements on the opposite side to create a sense of balance.
Likewise, if the scene includes a lot of negative space, the photographer may choose to place the subject closer to the center of the frame. By taking the time to consider the placement of each element, photographers can create photos that are pleasing to look at and feel harmonious.
6. Embrace negative space
Negative space is the area around and between the subjects in a scene. It is often empty, but it can also contain elements that help to frame or highlight the main subject. When used effectively, negative space can add depth and balance to a composition. It can also help to draw the viewer’s eye towards the subject. In many cases, the best way to make use of negative space is to keep it simple. If you want to turn technique into personal style, read how to express yourself through photography.
A busy background can distract from the main subject, so it is often best to choose a scene with a minimal amount of clutter. This will help ensure that the negative space enhances rather than detracts from the photo.
Photography composition is key to taking great photos. By following the basic guidelines for good composition, you can take your photography skills up a notch or two. Remember to use these principles when composing your next photo and see how much better it turns out. Once you have the shots you want, keep them organized in a storage system such as Yogile so they stay easy to find later.