Published: Oct 14, 2022
We all know that cameras are not always necessary. Bringing a camera everywhere you go or lugging it around on your vacation can be quite inconvenient! That’s where the beauty of mobile phone photography comes in handy. You’re never without your device, so why bother carrying anything else with you? Digital photography is great and everything but there just isn’t something like traditional film photographs anymore. So if old-school photos aren’t what you desire, try out these tips for taking beautiful pictures using only your smartphone.
Firstly, if you want to take stunning photos with your phone, it pays to know a few tricks. You don’t need a fancy camera or expensive equipment. However, it often does make a difference what phone you’re using as those little tech wonders often have some very powerful lenses and features built in.
Let’s be honest. You’ve probably been through a few phones and you managed to find out that the iPhone, especially the PRO versions, have the best camera for amateur photographers. They have enough to give you the professional results that will enable your photos to go viral on Instagram. If you’re comparing devices, how to choose the best camera for your needs is a useful place to start.
It’s in no way perfect but it does offer some features that make it easier to take great shots. The software tricks are not exclusive to Apple so similar ones can be found in other smartphones too, like Samsung Galaxy S8 or Google Pixel 2 XL which also have amazing cameras! And after applying some filters, your follower might not even see a difference.
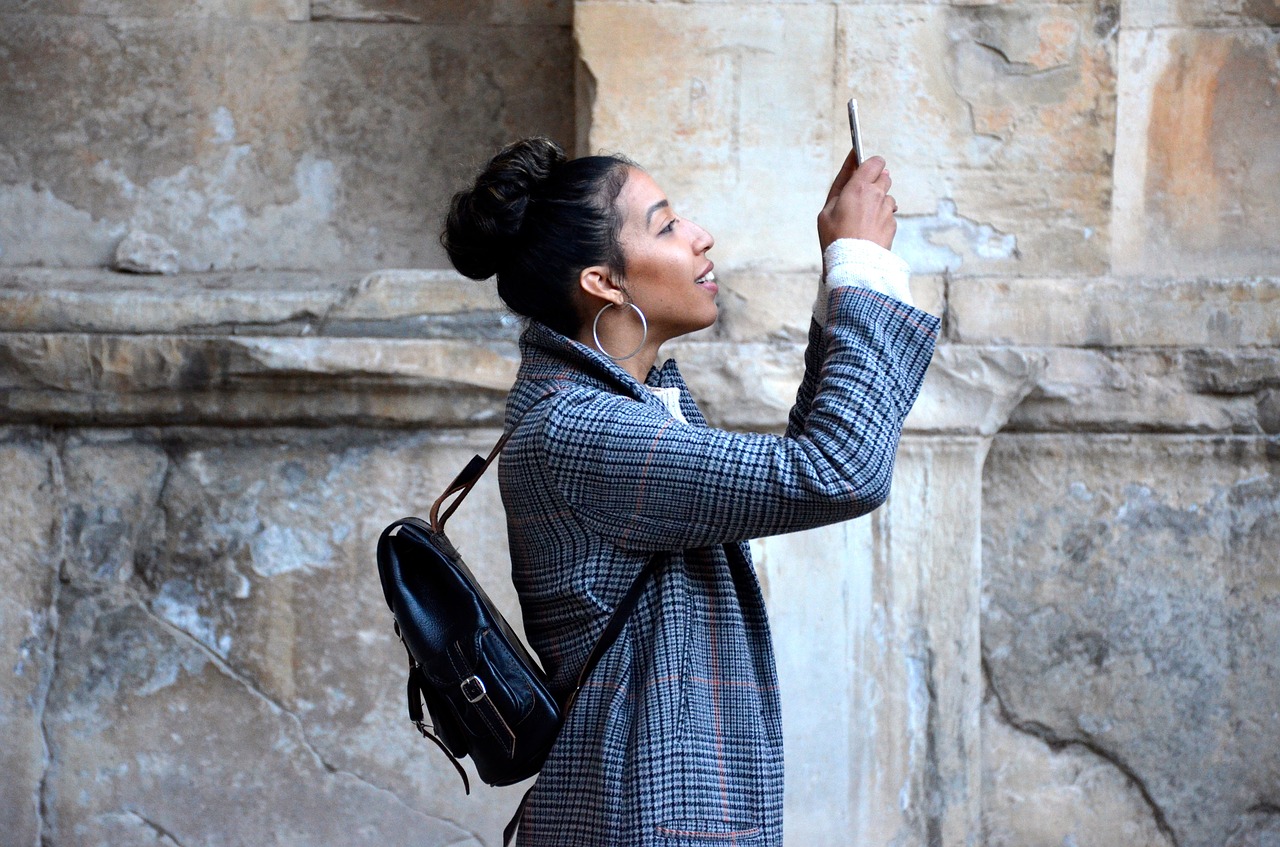
Do you want to take the perfect selfie or share your latest vacation photos with friends and family? If so, then you need a smartphone that is both comfortable to hold and has a high-quality camera. There are many great options out there, but don’t forget that the tech specs are not everything. If you have a good eye and know some tricks, you can get the most of the smartphone that you already have before getting a new one just for the camera!
All you really need is an eye for composition and some patience as we show you how to do this in a few simple steps. If framing still feels tricky, review the basics of composition in photography before your next shoot.
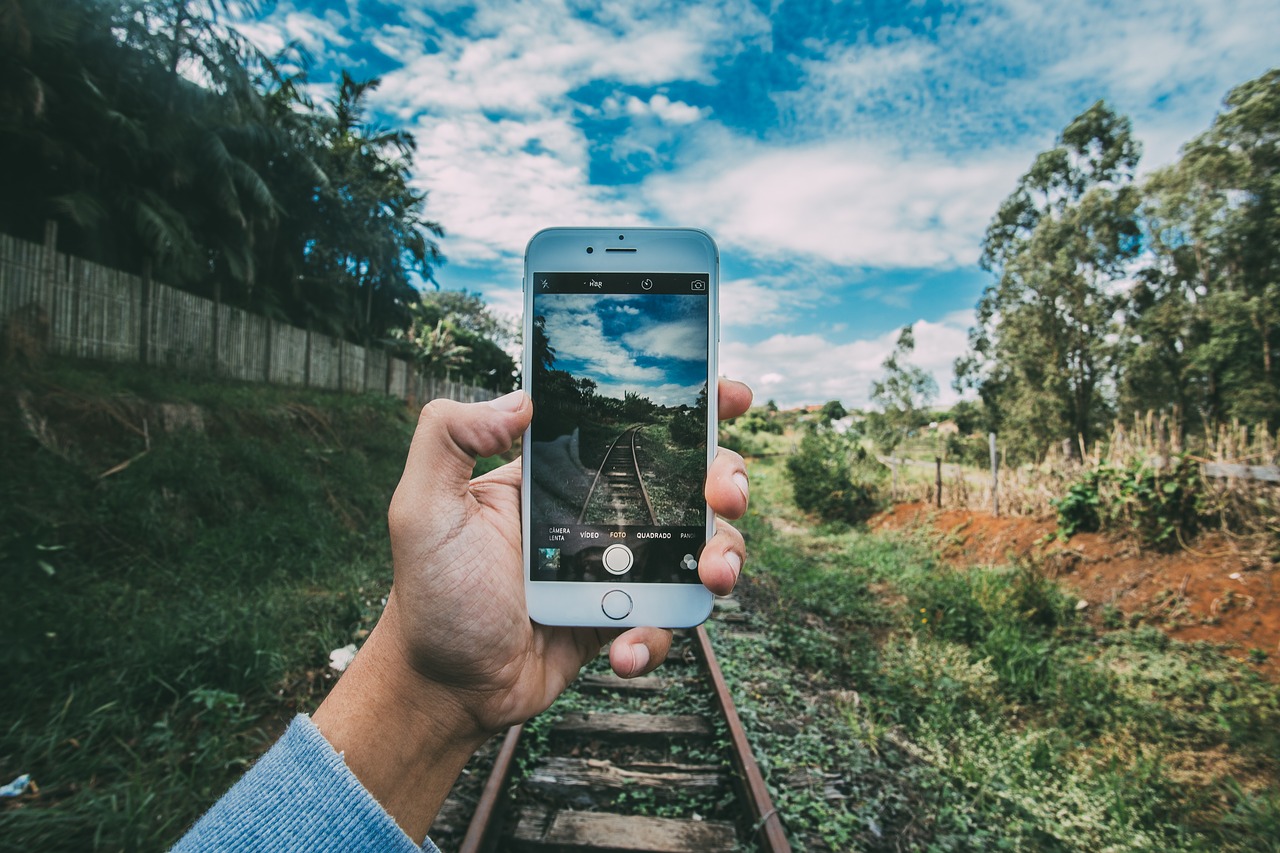
Begin with deciding on the composition. One way to do this is to zoom out to capture more of the surroundings. You can use the wide angle lens for this, or simply walk away from your object and capture the most interesting composition.
Another option on the contrary, is to get very close to the subject. You can use the really cool and professional-looking portrait option.
Remember to use natural light when possible and try not to use flash (unless necessary). Understanding the importance of light in photography will make that decision much easier.
A cool trick is to place the camera on a flat surface to stabilize it and use burst mode, then tap anywhere on the screen during playback to take multiple shots of one subject in rapid succession. This will give you access to all these different frames that might otherwise be out-of-focus or blurry if taken individually.
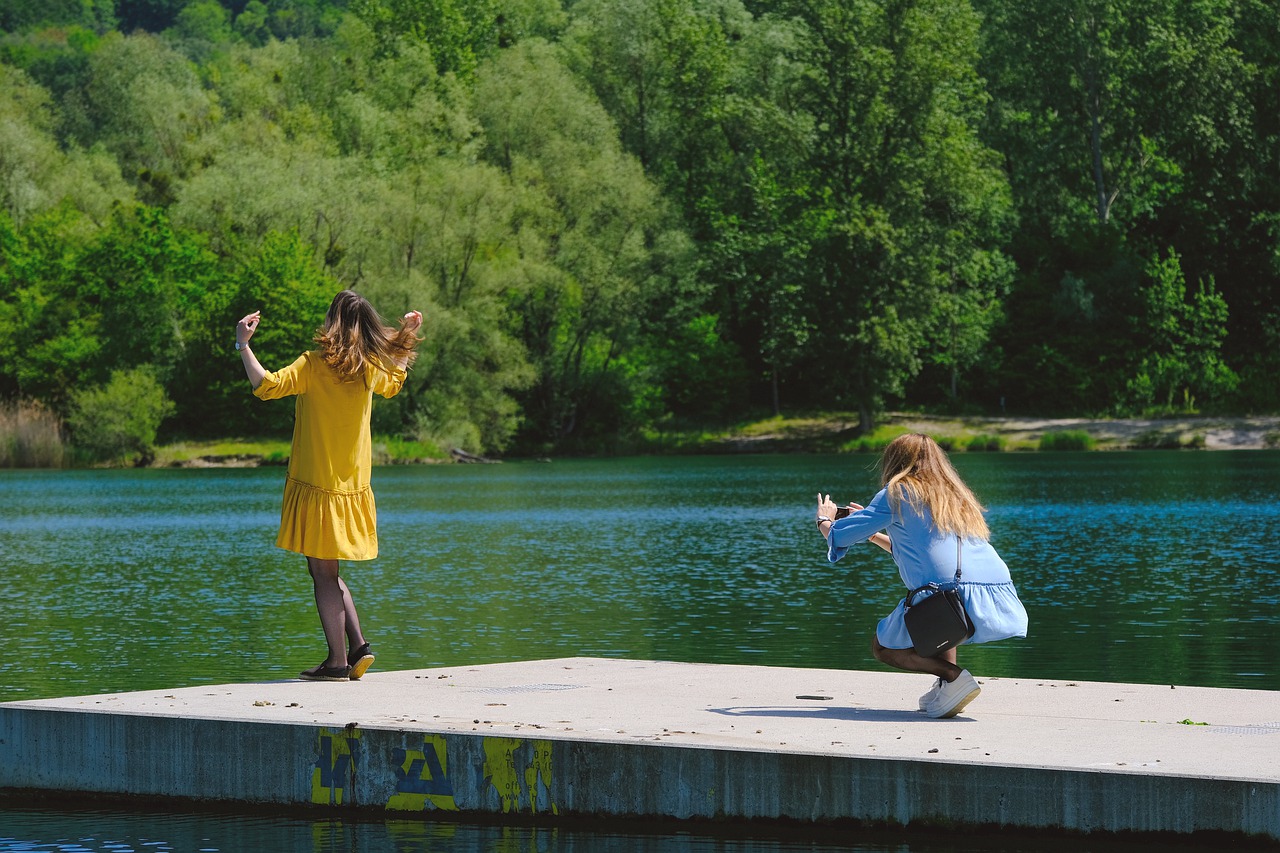
When taking pictures of people and other objects in their natural environment, try experimenting with different camera perspectives. For example, take some landscape-type photographs instead of always using portrait style images (which is better suited for close ups). It makes sense that these types of scenery would be easier to capture than portraits because there are fewer details and complexities involved - which can make them much more intriguing from an aesthetic point-of-view. If you need fresh backdrops, these location ideas for great photography in your city can give you easy places to practice with your phone.
Now, you may have taken a whole bunch of pictures, but sometimes it’s hard to know which ones are worth keeping. Delete the blurry or out-of-focus shots that didn’t turn out great like you wanted them too so there is no room for regret later on. This will also make it easier for you to make a final choice of the best shots.
Once you choose your favourites, add some filters to your photos. It’s a great way to make them look professional. The easiest way to quickly retouch the photos is to use the following three filters in particular: exposure, brightness and contrast for an overall natural appearance. You can also go for a vignette or light flare filter for that vintage feel. And lastly, try out black white color adjustment with highlights filters.
Sometimes when you’re taking pictures outside on a sunny day there can be too much glare which is why it’s good to avoid those types of situations–but if not then using these lighting effects will help you get rid of all the excessive reflection so your photo doesn’t turn out super bright where nothing really stands out (or worse yet) blurry! And if you want to keep shooting after sunset, these tips to take night photos will help you adapt.
All those filters, and much more, are available in Yogile. You just need to click “edit” after uploading a photo and you can scroll through hundreds of effects and choose your favourite one.
Once your photos are taken, you can easily upload them from your smartphone to the Yogile app. Organize your photo library so you can find them easily later on - use folders, and names to group photos together based on where they were taken, who is in them, what’s happening in them, so that it is easier to pick the ones you might want to use later on. These tips for better photo organization will help you keep that library usable as it grows.
Now you’re ready to take some professional looking photos with your smartphone. And all that without purchasing an expensive camera and having to spend hours on learning how to use it. It is a great way to fall in love with photography before going a step further and investing in the more specialised equipment, so we hope these tips will help you get started with your new hobby, or a future career!