If you have already explored the full potential of different lightning, a whole new world of possibilities awaits you. Night photography is a fun and challenging hobby to have, and it opens up an entirely different set of photo opportunities for you when the sun goes down!
Night photos are some of the most challenging to take, but with these tips you’ll be a pro in no time. There are many factors that can make or break a night photo, so it’s important to know what you’re doing before shooting away!
First of all, although it takes some practice, nighttime provides photographers with some neat advantages. For example, darkness can hide imperfections in your shots if there isn’t enough light, and sometimes even make them look better.
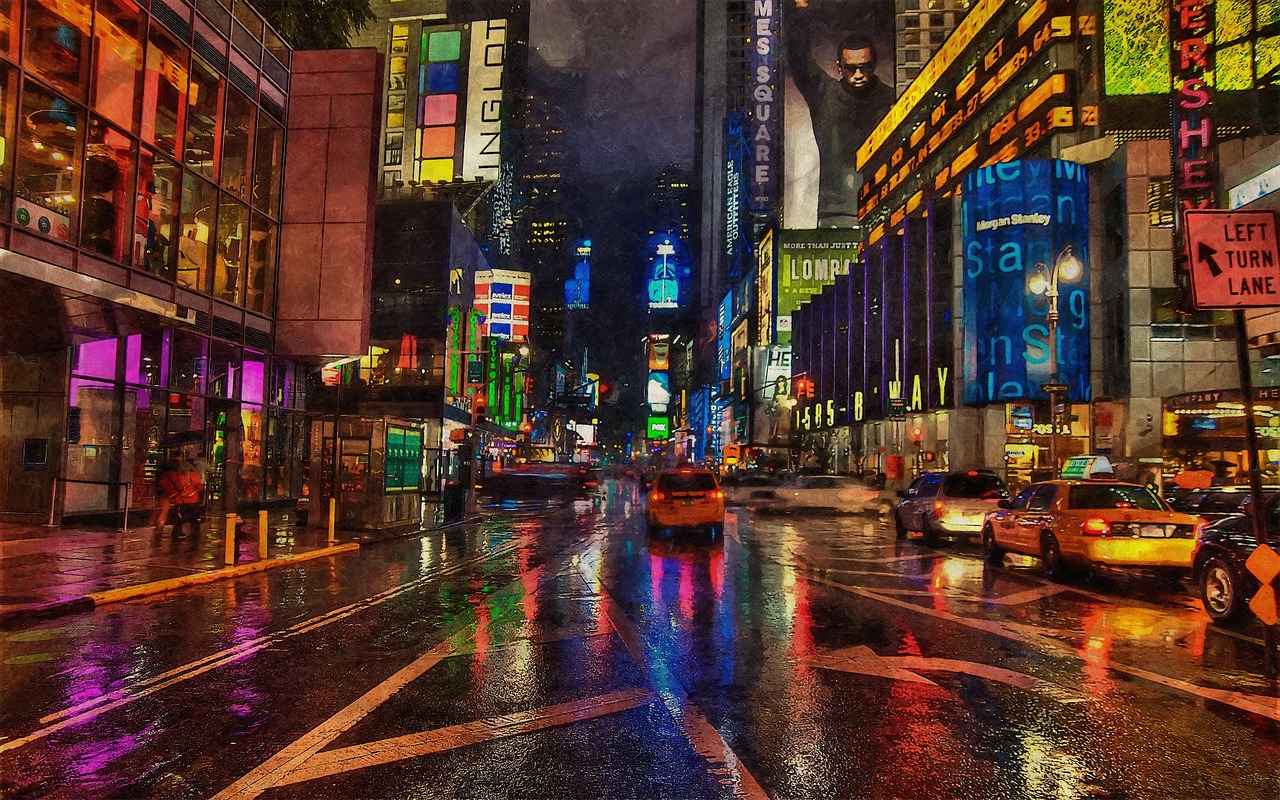
Don’t forget that night often brings really creative lighting options too– street lights are great sources at all hours, but during twilight or after sunset their color temperature changes from red/orange to blue which will give any nighttime photos a cool glow. If you want a broader refresher on shaping mood with illumination, revisit the importance of light in photography.
You might also want to take advantage of artificial illumination like car headlights, or traffic signals turned on. These will provide cool, striking beams against dark.
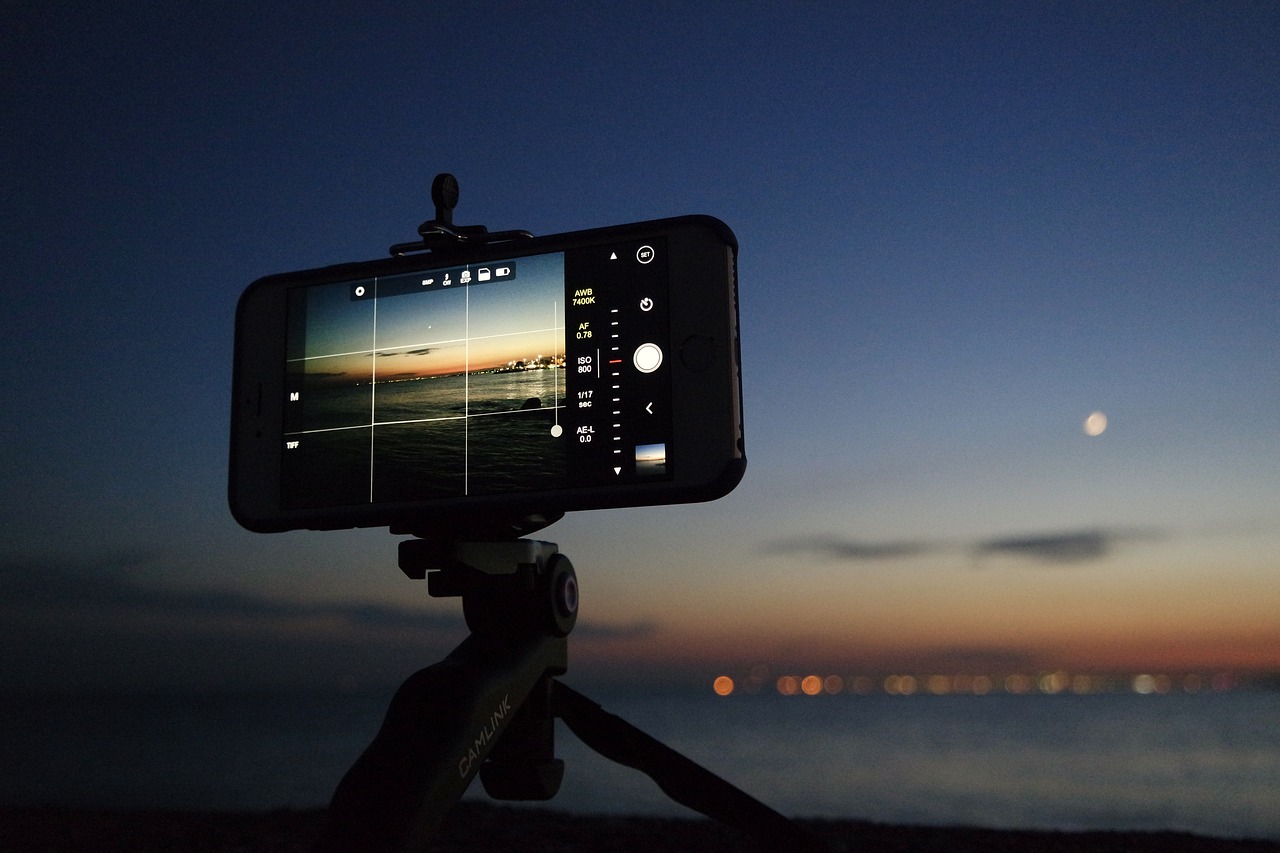
It is good to remember to use a tripod. This will help steady your camera which is key for capturing clear and crisp images at night. In this sort of photography, there is no room for shaky hands, unless this is the effect you’re looking for. However, for starters, it is best to give it a few shots with a super steady tripod and take it from there. A sturdy support is part of the camera gear that every photographer needs.
After you set up the camera, make sure to keep your shutter speed low (less than 1/10th of a second). You want enough light for your camera to capture an image without using flash, but not too much light that causes blurriness in your picture.
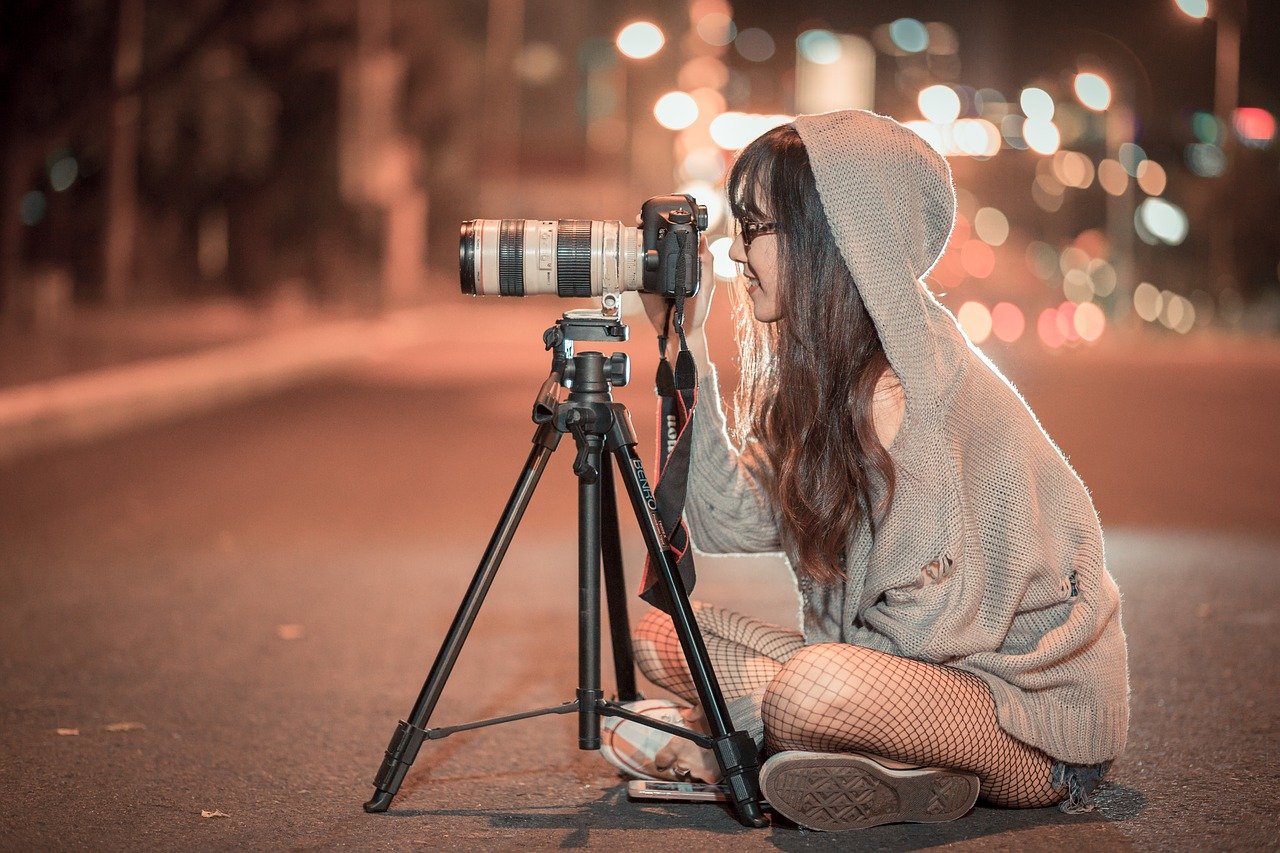
While you’re shooting, you can play around with different lens sizes. Use a wide angle if there is plenty of space around you and you want to capture a lot of elements in your photo, or use telephoto if there isn’t as much room or you want to focus on a smaller piece of landscape.
A cool and easy trick to try out is to turn the camera flash off and place a small flashlight on your phone in order to help light up any people or objects that you want illuminated at night. Your phone can help in more ways than one if you’re already practicing how to take stunning photos with your phone.
You can also use time-lapse mode so it will take quicker shots, which may result in more successful photos of moving subjects like fireworks displays when taking pictures with long exposure times can be difficult. When you are shooting that scene, make sure there is plenty of space around what you’re photographing - if someone gets really close then they’ll block everything else. Urban lights are perfect for practicing, so it helps to scout location ideas for great photography in your city ahead of time.
Finally, just as during every photo shoot try experimenting with different angles. It is a great way to see things from new perspectives. What may look odd and out of place will make sense as you continue the experiment, or give up on it altogether if that’s what feels right for you! Night scenes still rely on the basics of composition in photography, even when the lighting is dramatic.
You never know how your perspective changes when looking at something through another angle until trying it yourself!
And after you’re done, try out different filters and see how they look on your night photos. You can easily do that in Yogile- just click “edit” and browse from hundreds of cool different filters and settings.
Night photography is a fun and challenging form of art that can be mastered with some practice. In this article, we’ve provided you with an overview on how to take high-quality night photos, so now it’s your turn! With these pointers, you should have no trouble creating beautiful photographs at any time of day or night.